Securing Prometheus
Prometheus is a powerful open-source monitoring and alerting tool designed for Kubernetes environments. It offers a robust set of features to monitor your applications and infrastructure, including a flexible query language, multi-dimensional data model, and a powerful alerting system. However, Prometheus lacks built-in authentication mechanisms, making it challenging to secure access to the Prometheus UI.
By integrating Kubepass, you can enhance the security of your Prometheus deployment by implementing a layer of authentication and authorization. This tutorial guides you through the process of securing Prometheus using Kubepass.
Prerequisites
- A Kubernetes cluster running version 1.16 or later
- Kubepass installed on your cluster. Refer to the installation guide for more information.
Install Prometheus
To install Prometheus, you can use the below command. This is a basic installation of Prometheus. For more advanced configurations, refer to the official documentation.
kubectl create namespace prometheus &&
kubectl -n=prometheus apply -f https://kubepass.com/tutorial/prometheus.yaml
This command installs Prometheus in the prometheus namespace. It exposes the Prometheus UI as a service of type LoadBalancer on port 9090.
Create an Ingress (Optional)
Alternatively, you can expose the Prometheus UI using an Ingress resource. To create an Ingress resource, run the following command:
kubectl -n prometheus apply -f https://kubepass.com/tutorial/prometheus-ingress.yamlThis command creates an Ingress resource that routes traffic to the Prometheus service. You can access the Prometheus UI using the configured hostname. In this example, the hostname is https://prometheus.kubepass.com. Make sure to update the hostname to match your domain.
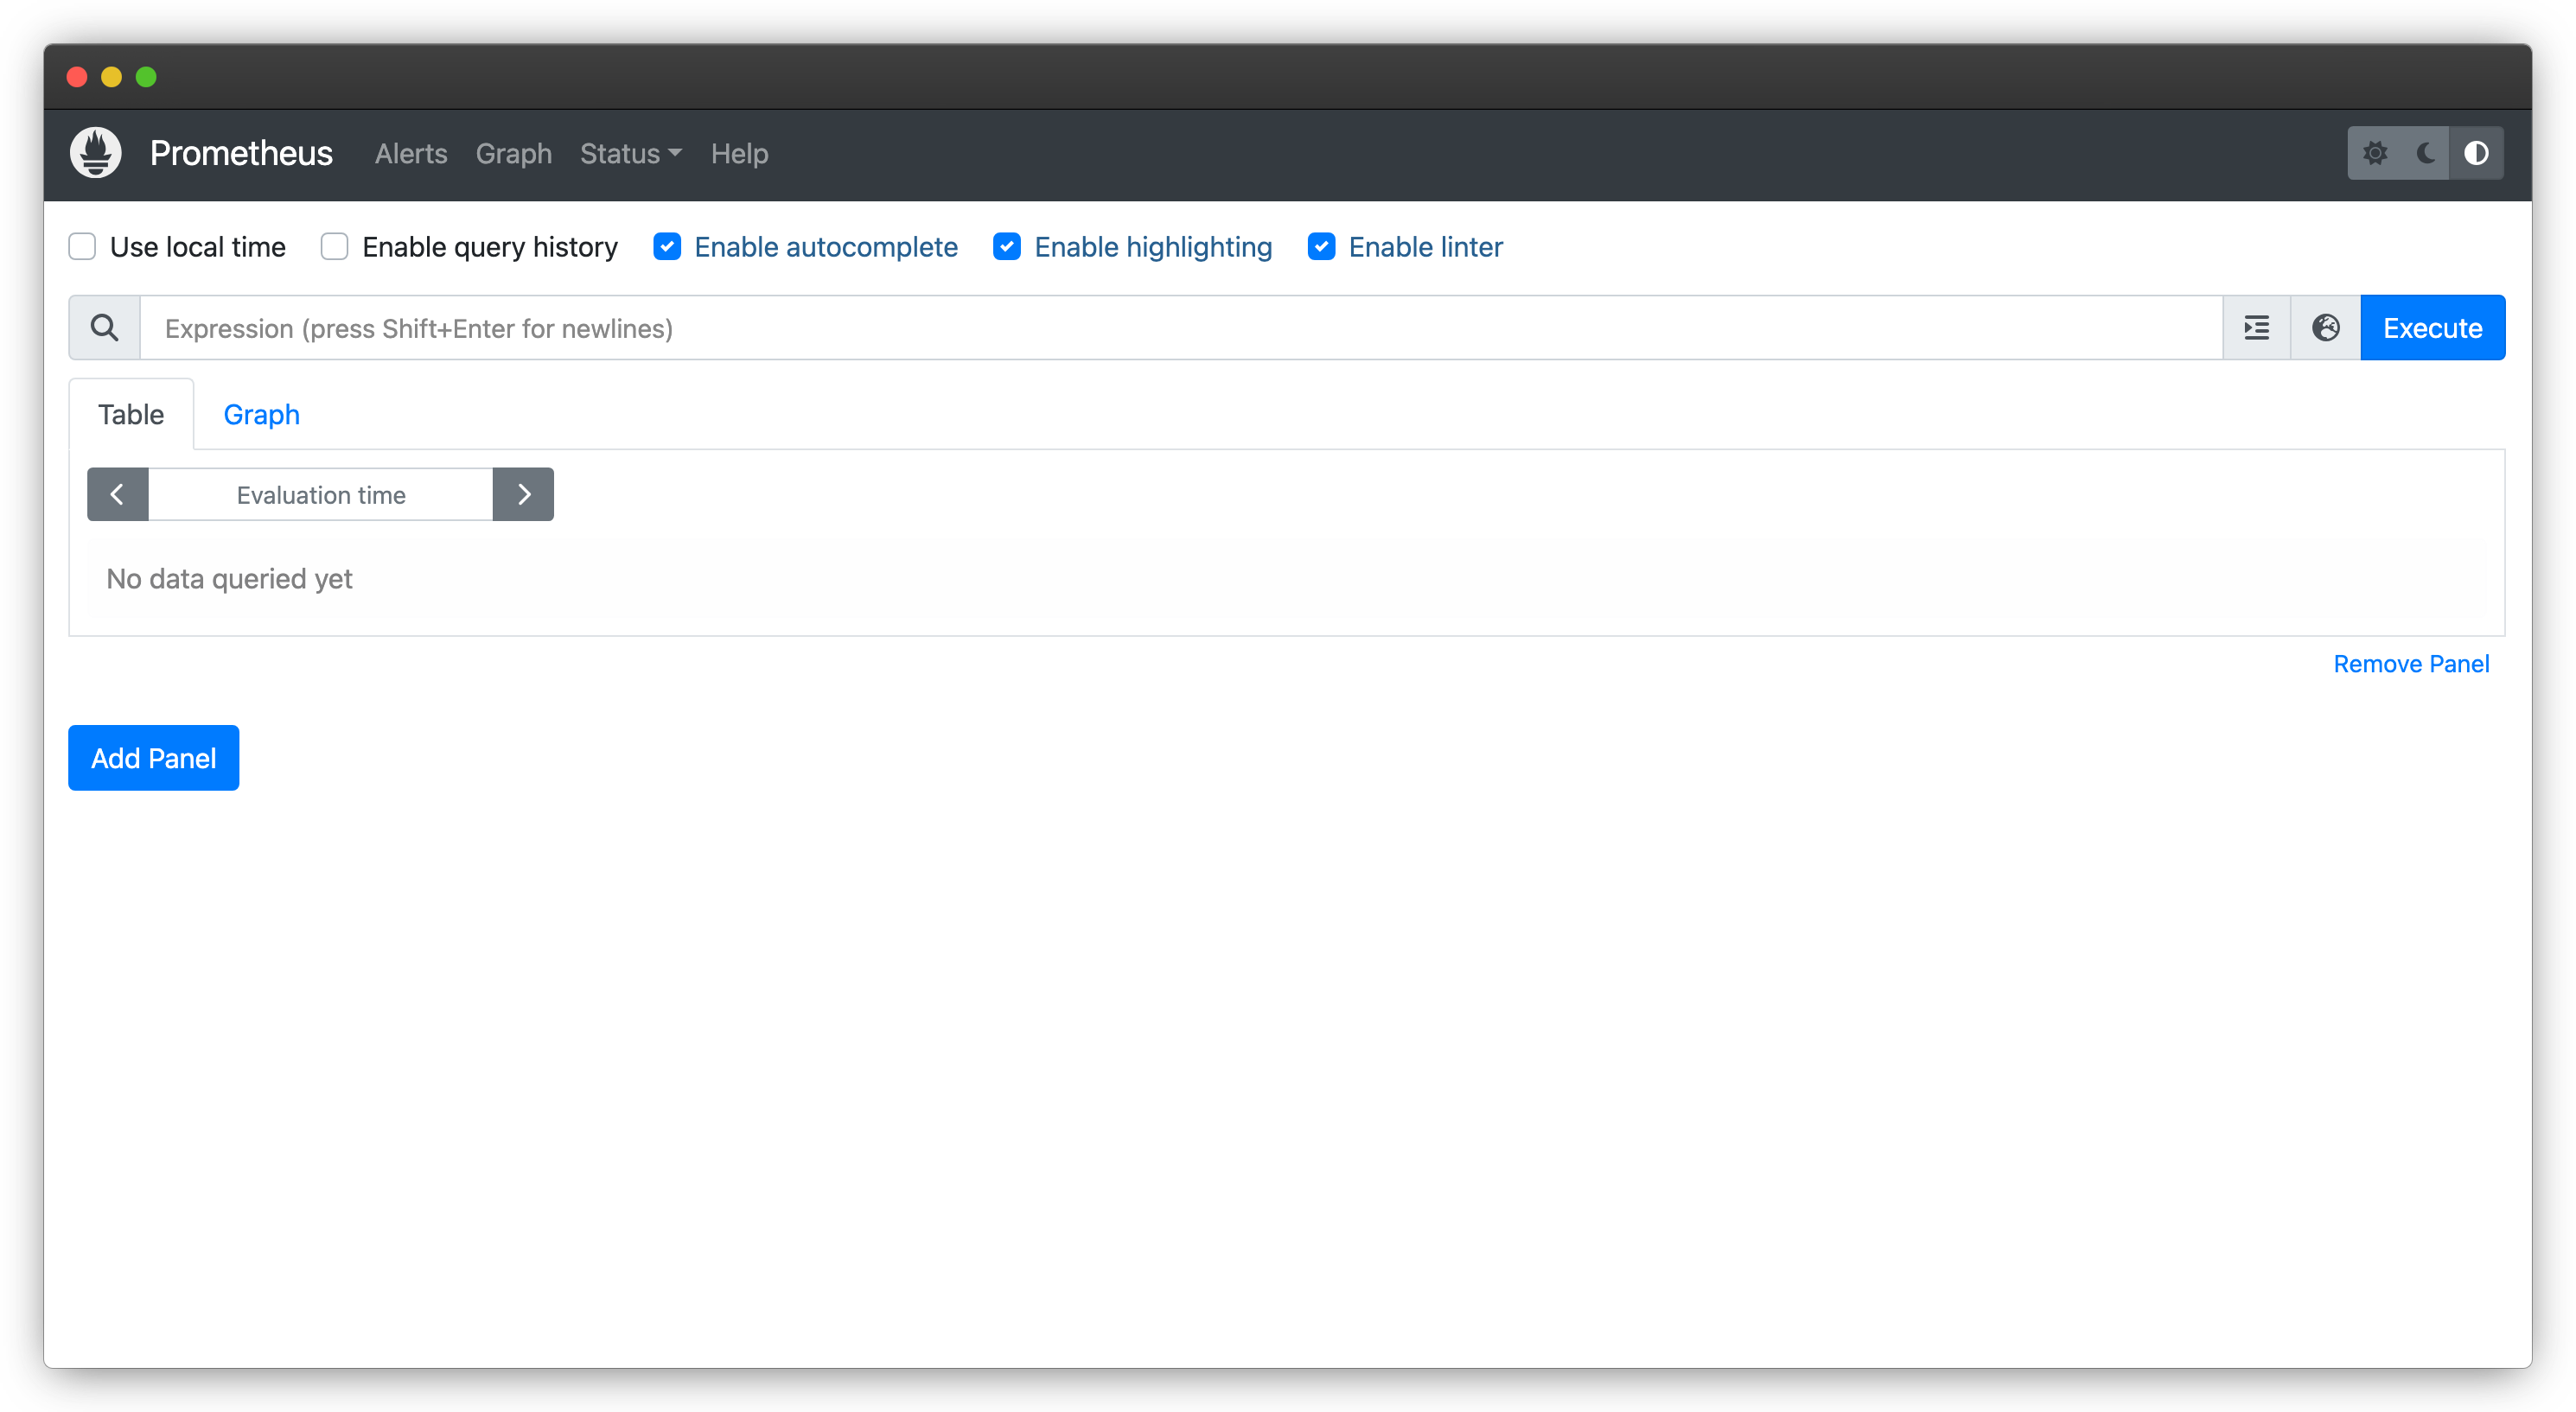
Access Prometheus UI
Wait for the Prometheus pod to be in the Running state. You can access the Prometheus UI by using the external IP of the LoadBalancer service or the ingress URL.
Secure Prometheus
Create a new SecureApp to secure Prometheus using the following steps:
- Login to the Kubepass dashboard
- Click on the Apps tab and click on Create new dropdown and select SecureApp
- Enter the necessary information
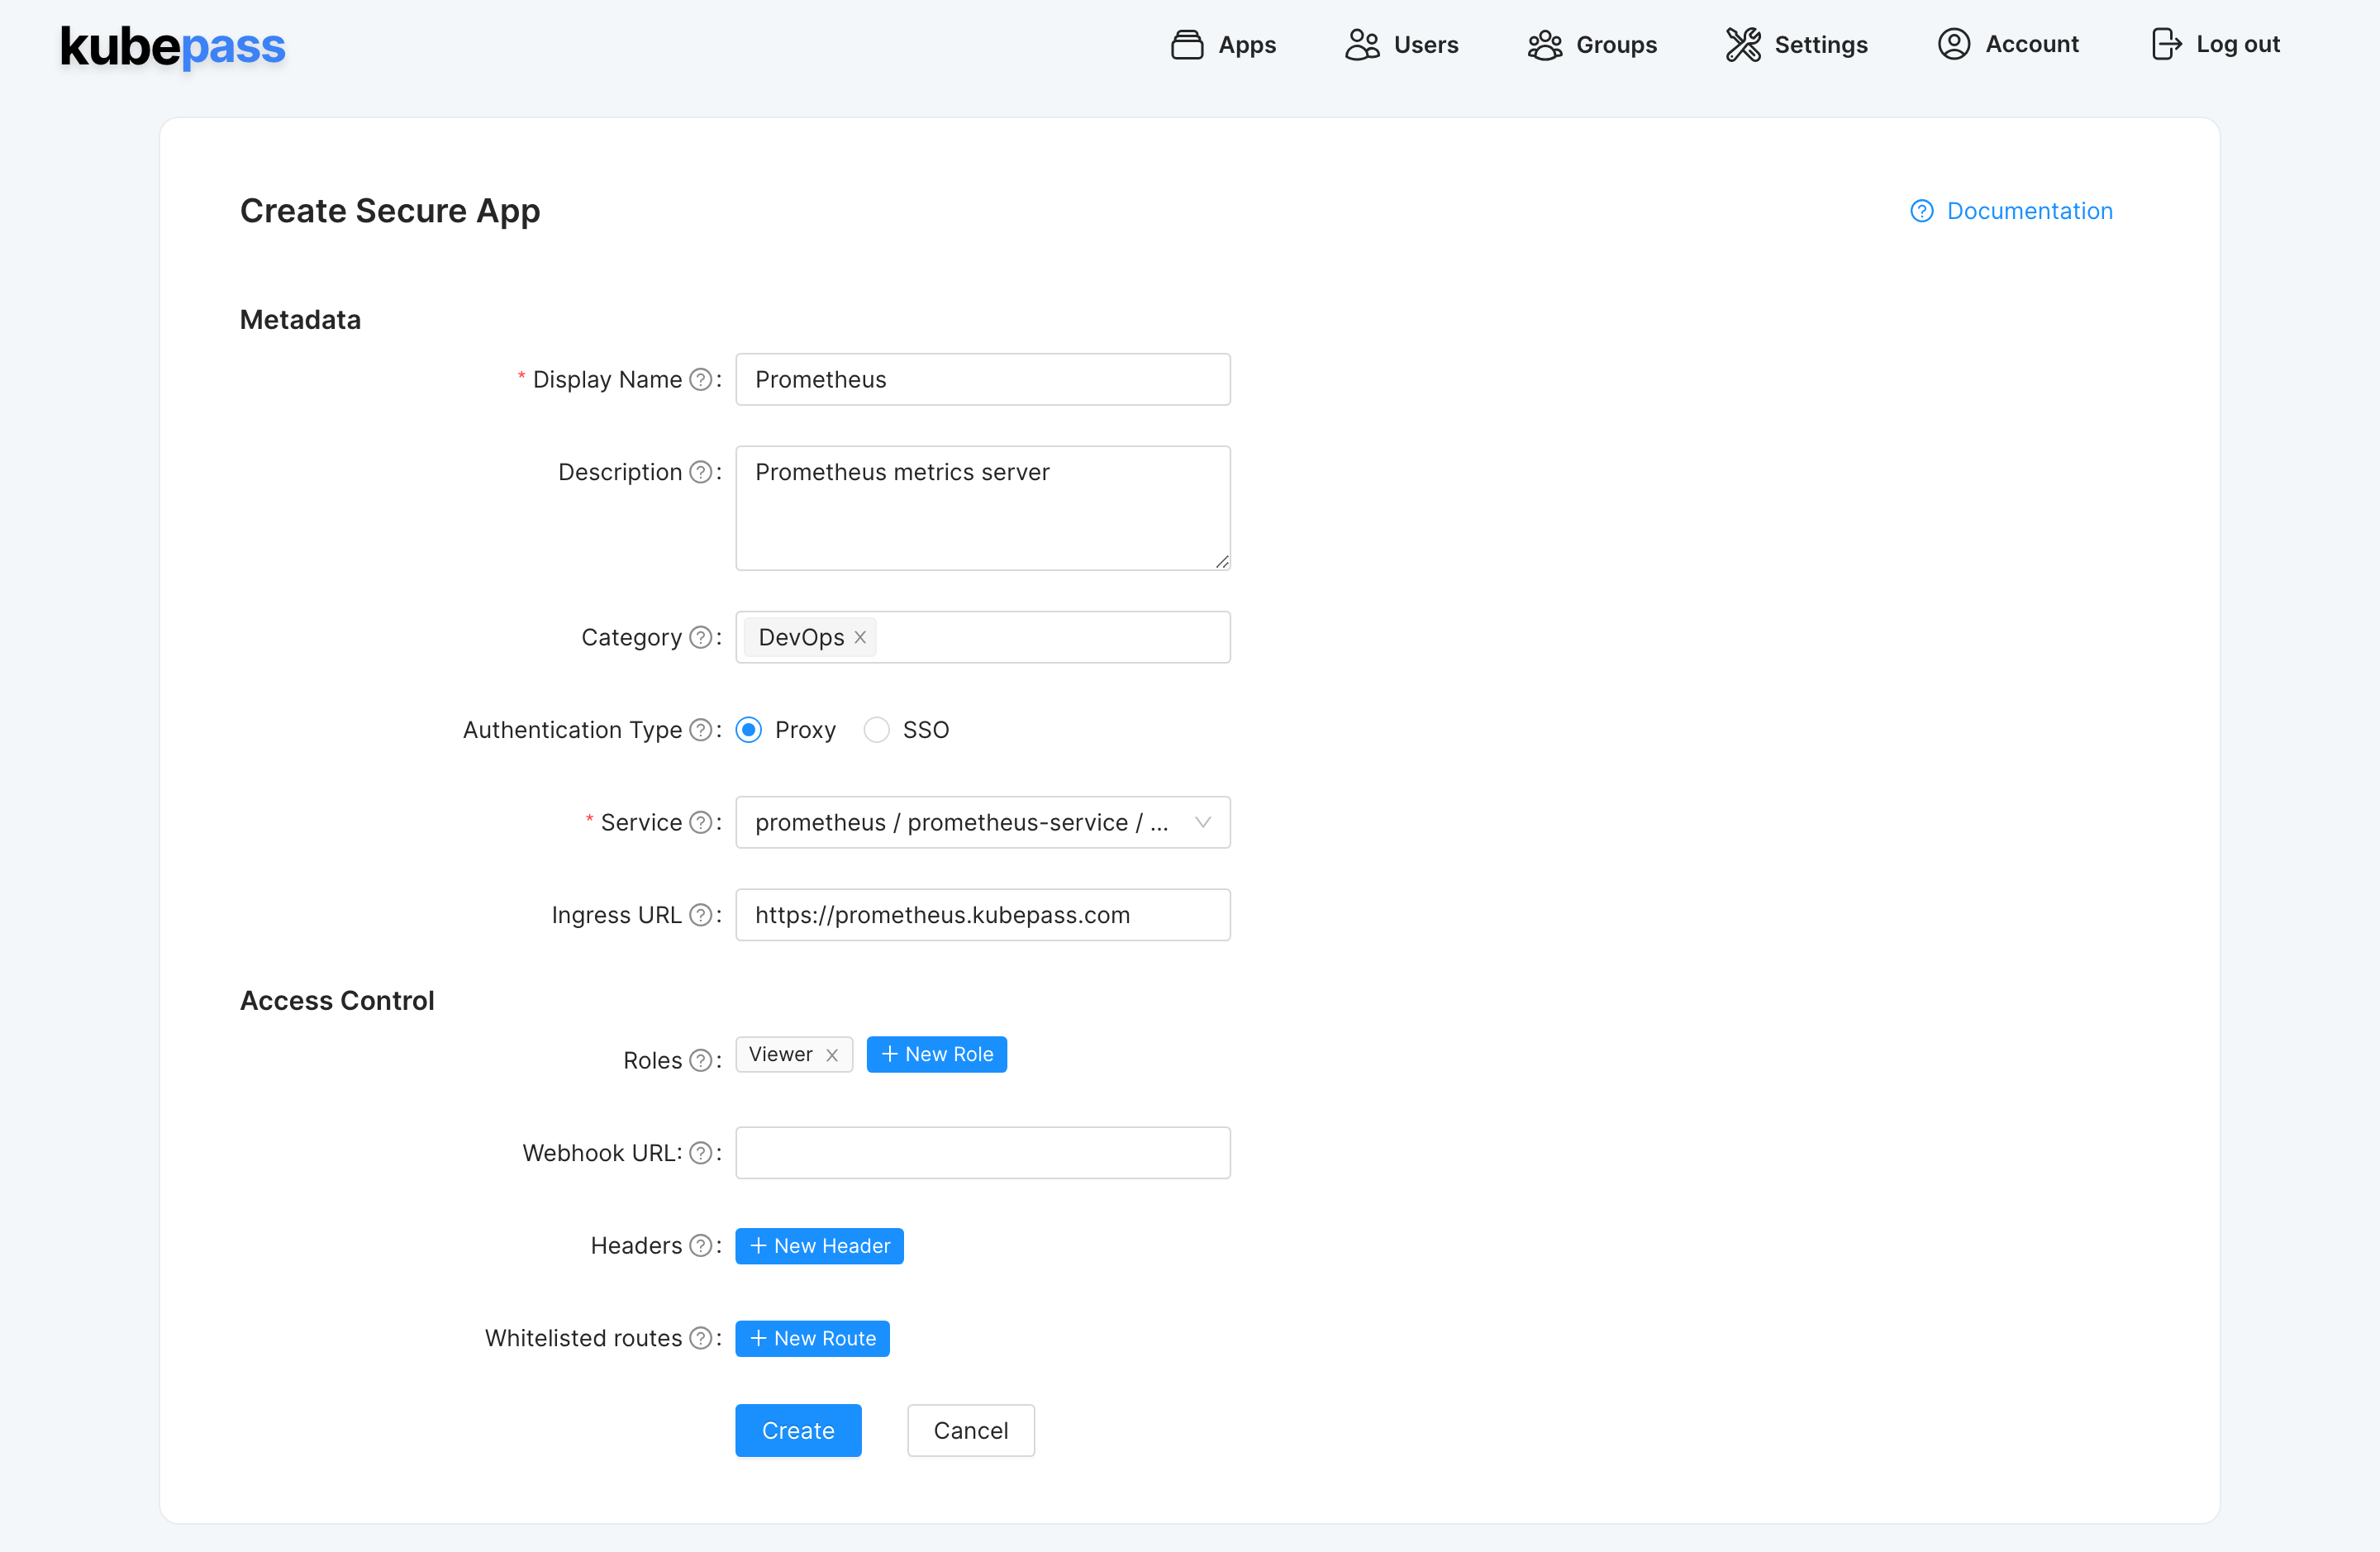
Make sure to create at least one role. Roles are used to define the permissions granted to users or groups. Without a role, users will not be able to access the application.
For more information on the fields in the SecureApp form, refer to the Concepts documentation
Grant Access
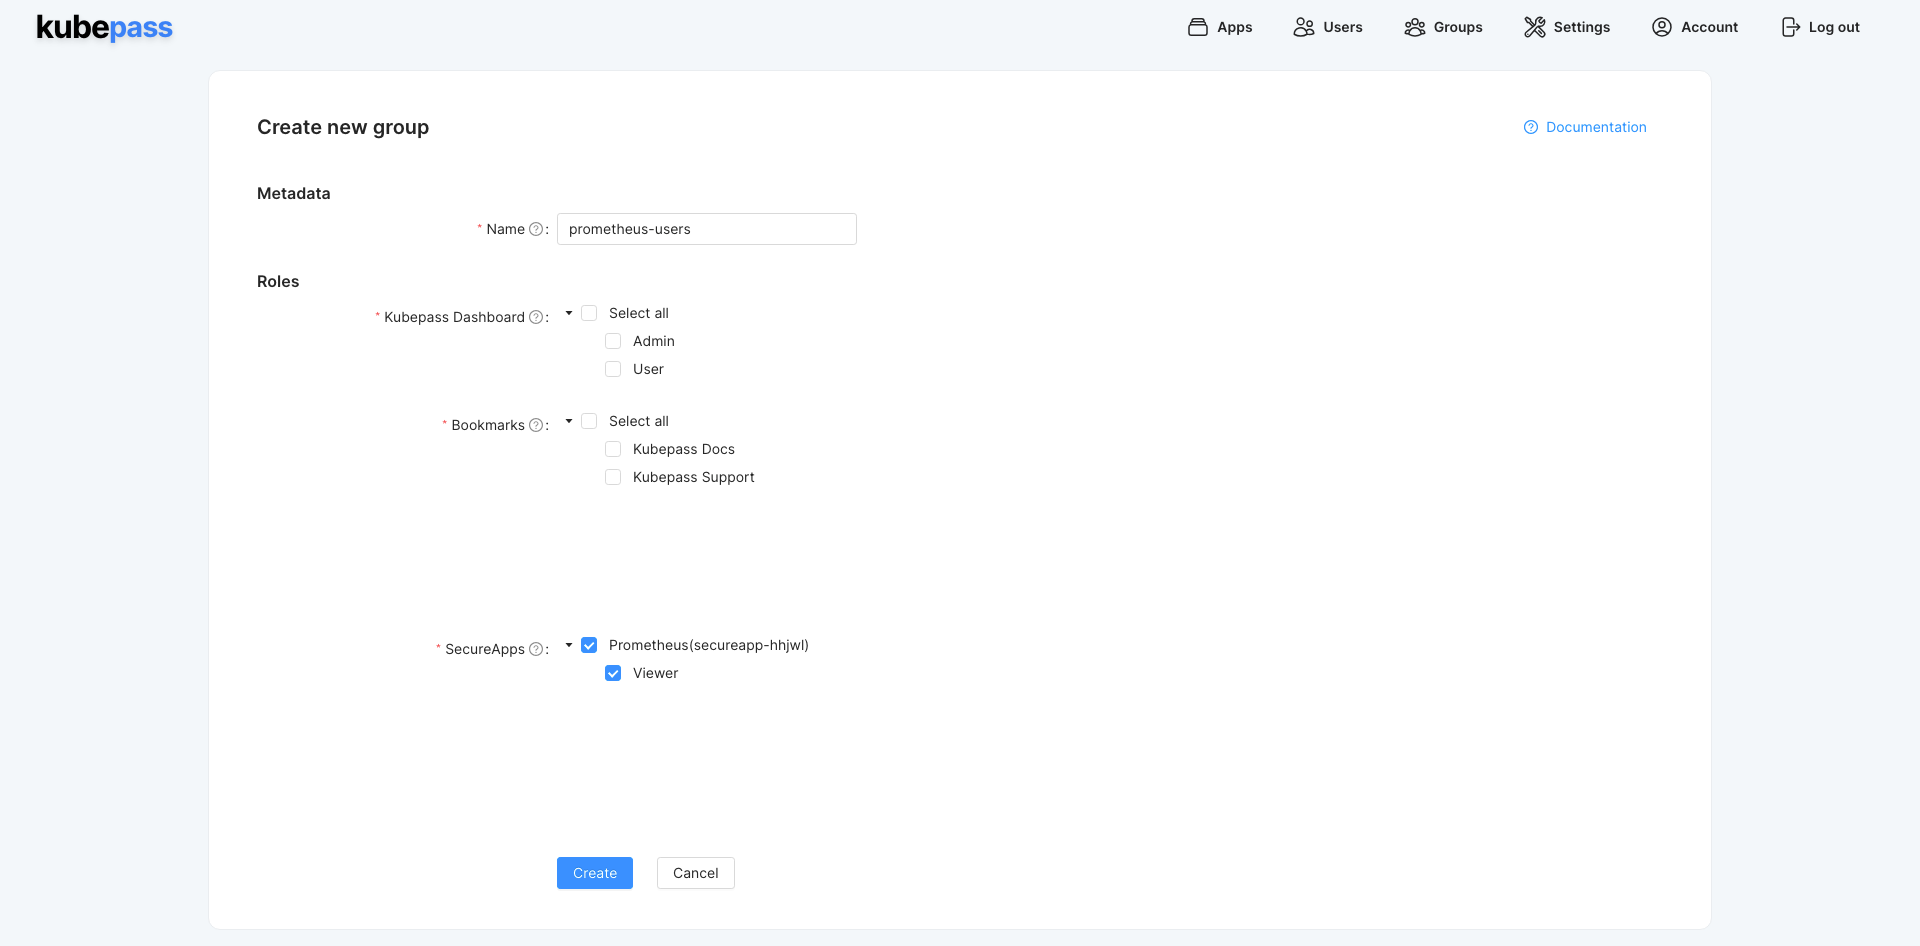
Once you have created the SecureApp, you can grant access to users or groups. In this example, we create a group called prometheus-users and grant access to the SecureApp. You can also grant access direclty to individual users.
Create a Group
- Click on the Groups tab and click on Create new
- Enter the group name and and assign the Prometheus
Viewerrole (under SecureApps) to the group and click on Create
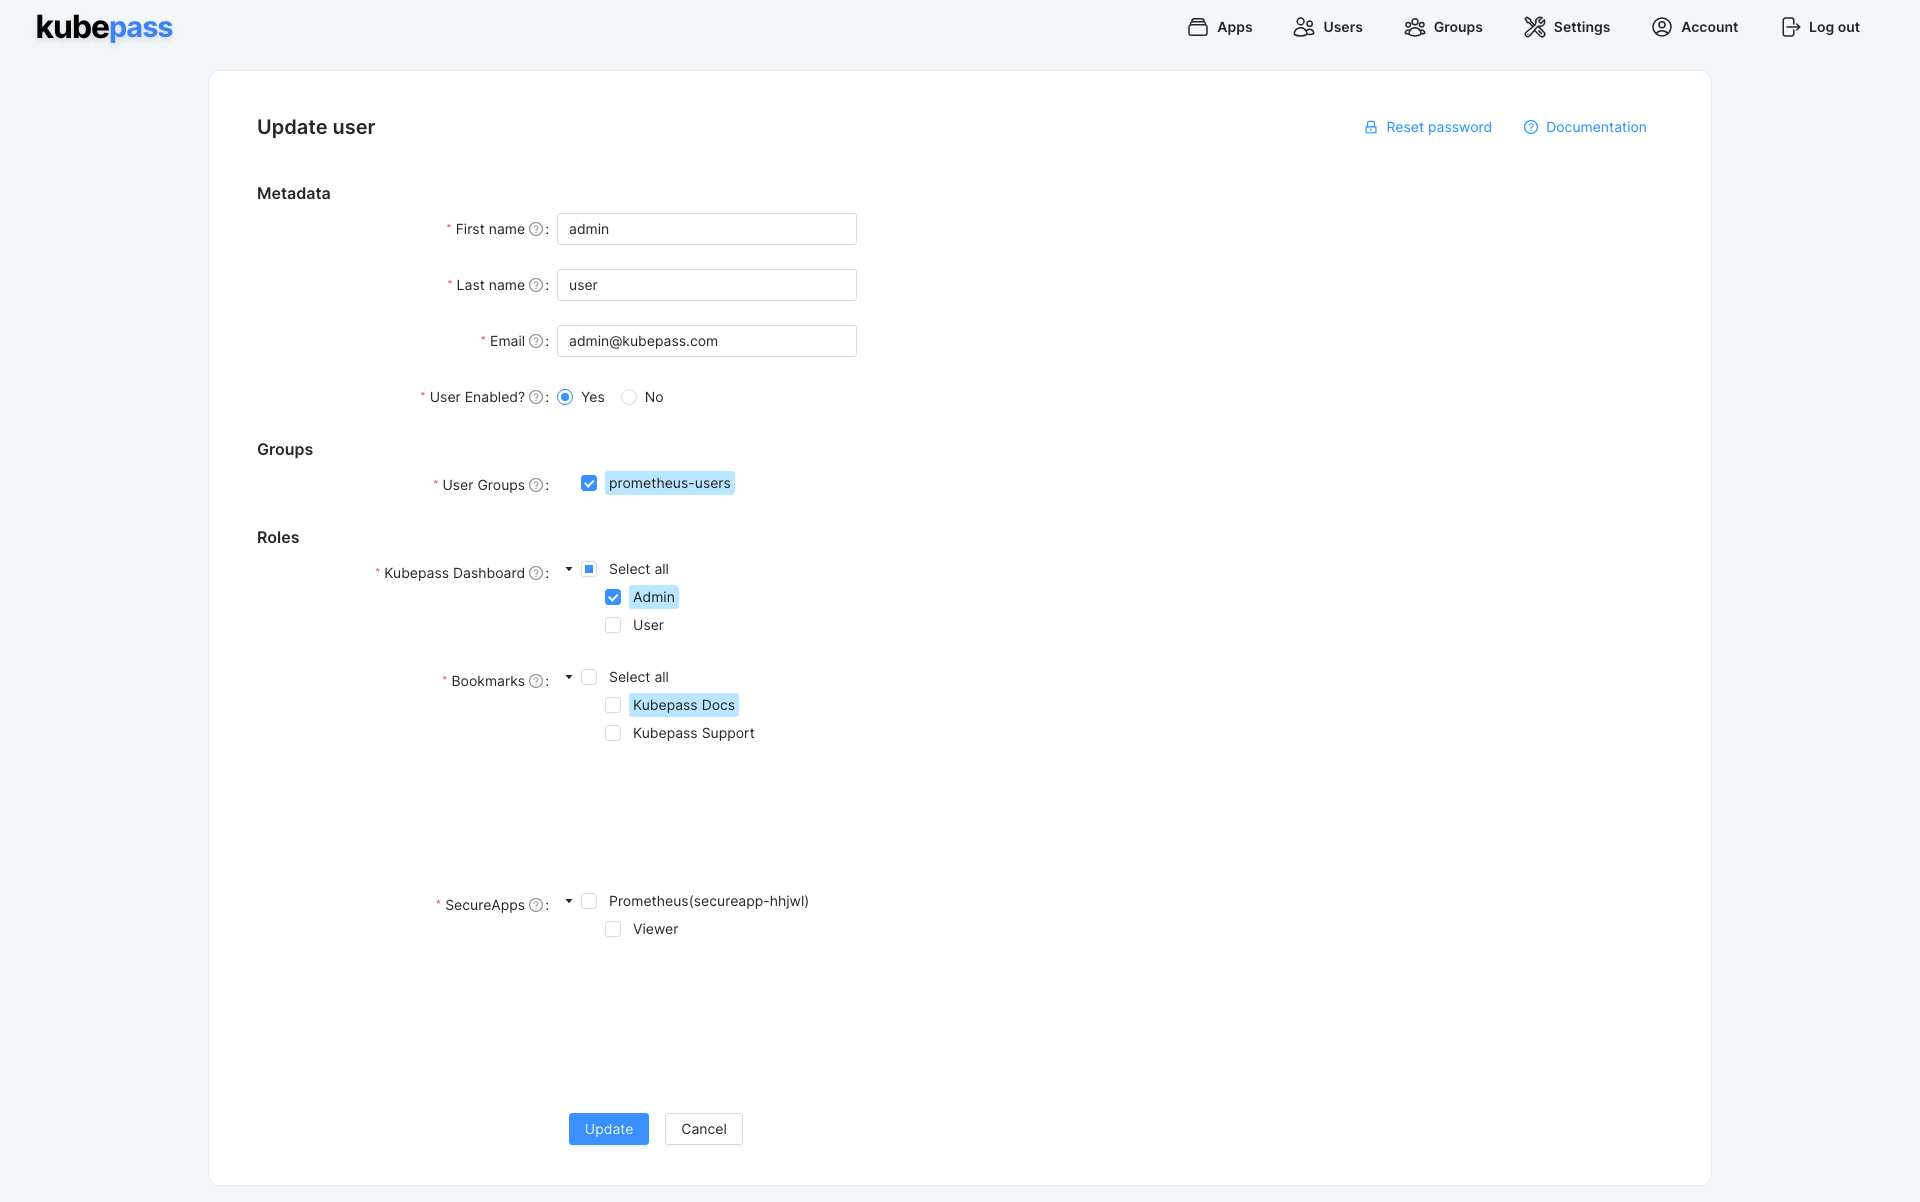
Assign Users to the Group
- Click on the Users tab and click on Edit next to the user you want to assign to the group.
- Select the group
prometheus-usersand click on Save
Verify Access
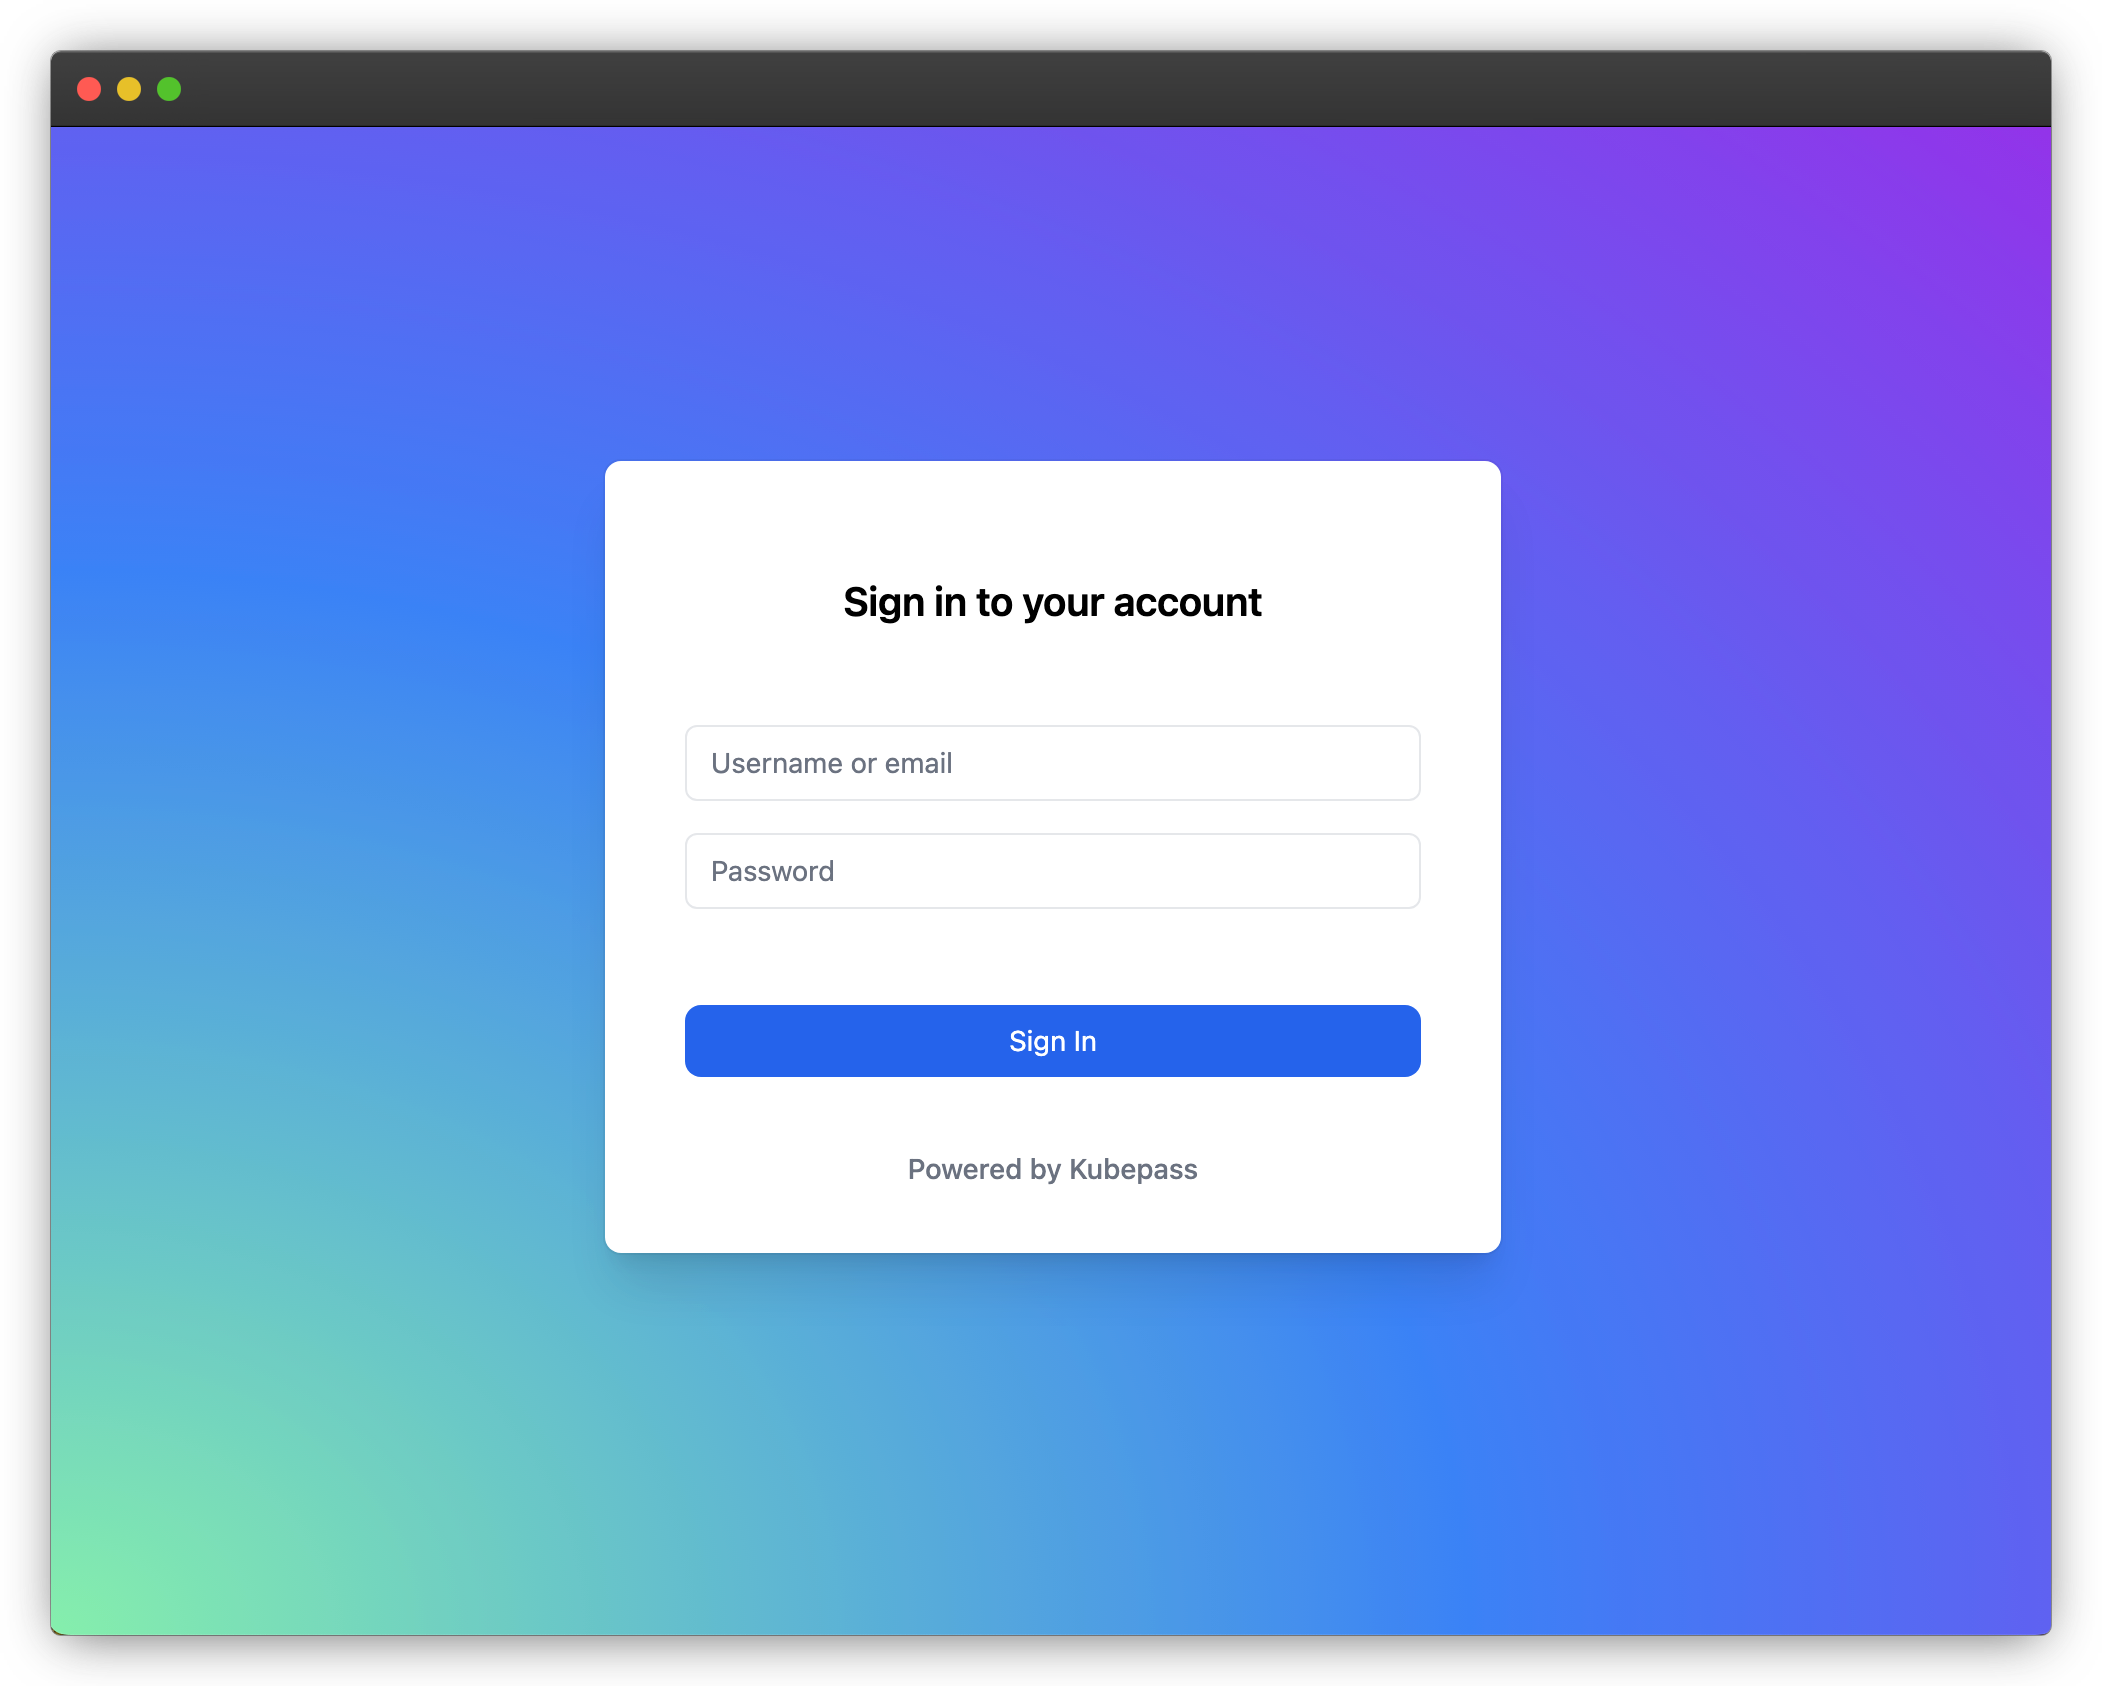
Once you have granted access to the SecureApp, users can access the Prometheus UI by logging in using their Kubepass credentials. Try visiting the Prometheus UI URL(Ingress or LoadBalancer IP address) and log in using your Kubepass credentials
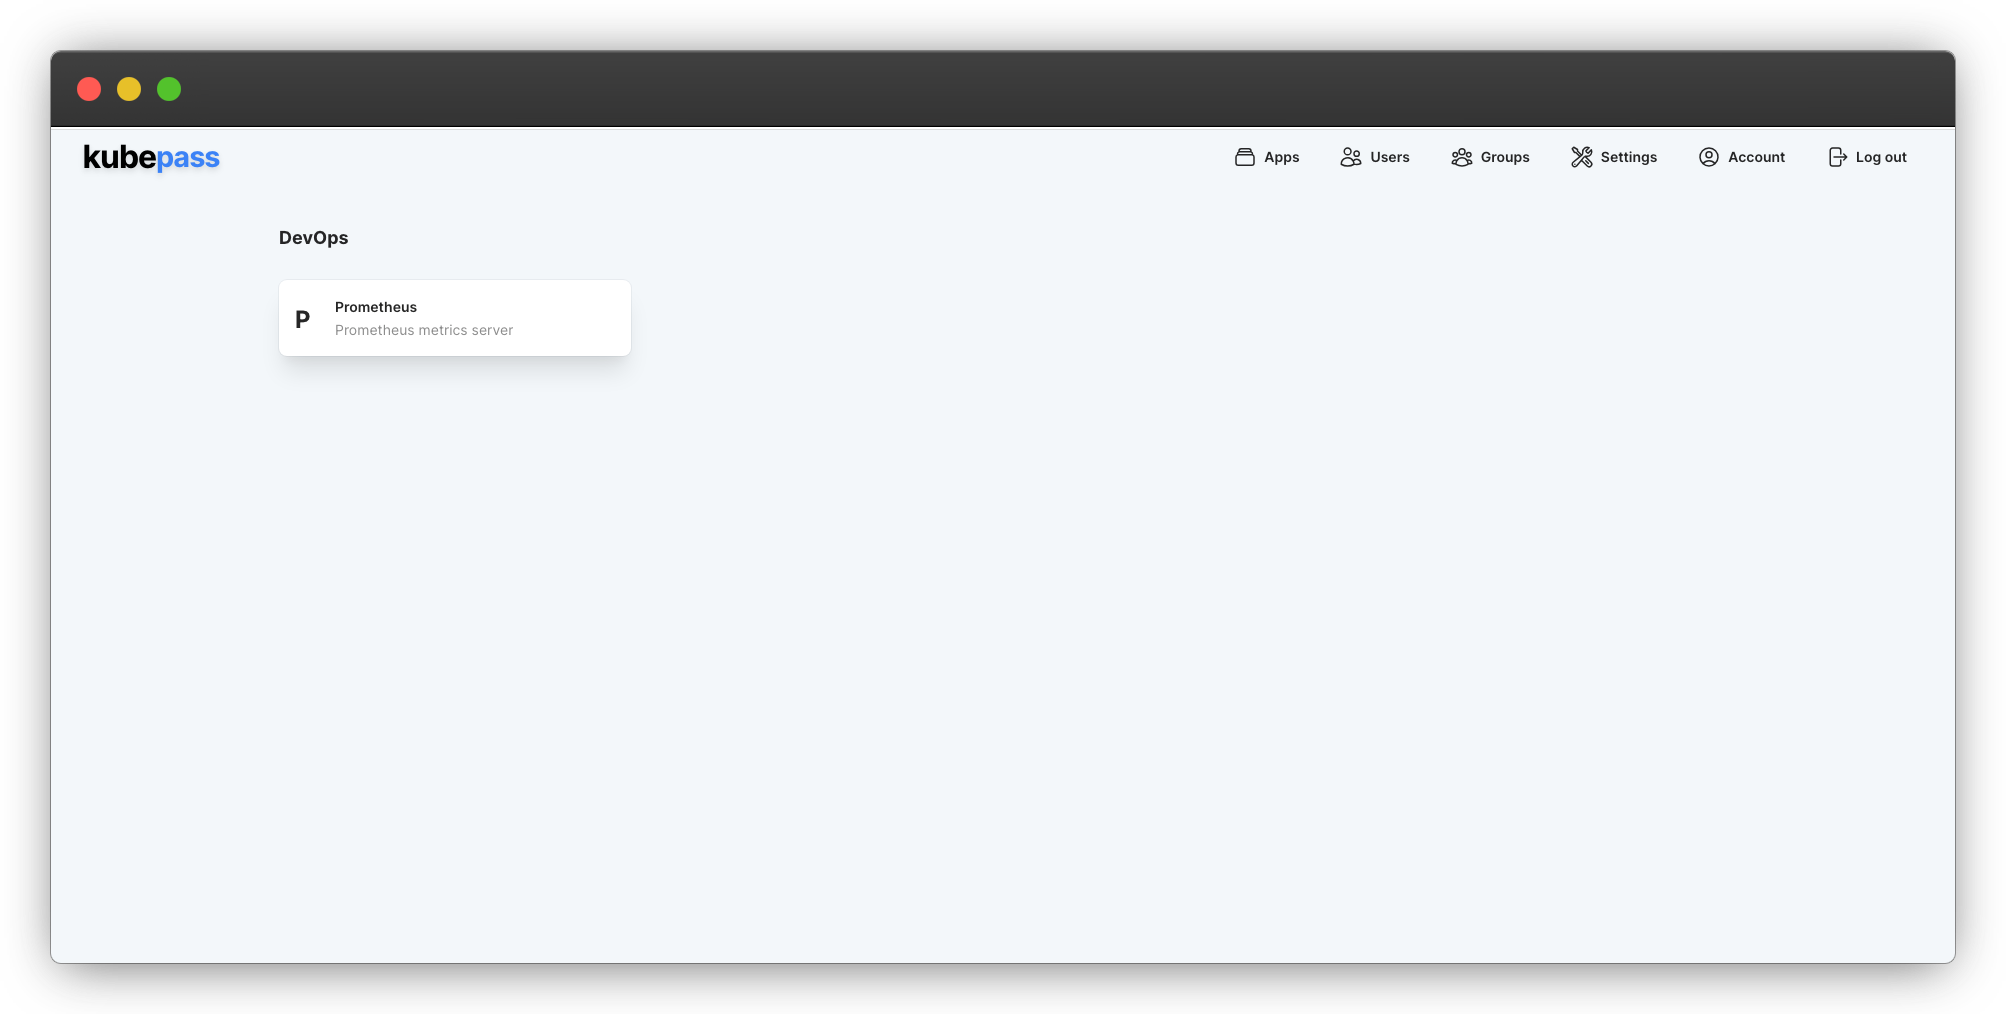
You should also see Prometheus listed under DevOps category in Kubepass Dashboard. Click on the Prometheus tile to access the Prometheus UI.