Securing an application
To create a SecureApp, follow these steps:
Deploy sample application (optional)
If you don’t have an application to secure, you can deploy a sample application using the following command:
- Create a new namespace
sample-app
kubectl create namespace sample-app- Deploy the sample application
kubectl apply -f https://kubepass.com/v1/sample-app.yamlThis creates an Nginx deployment and a LoadBalancer type service in the sample-app namespace.
- Wait for the service to get an external IP and verify that the application is accessible
kubectl -n=sample-app get allNAME READY STATUS RESTARTS AGE
pod/sample-app-66bfb44d9b-l7w4j 1/1 Running 0 3m32s
NAME TYPE CLUSTER-IP EXTERNAL-IP PORT(S) AGE
service/sample-app-service LoadBalancer 10.245.12.109 159.203.151.197 80:30654/TCP 3m33s
NAME READY UP-TO-DATE AVAILABLE AGE
deployment.apps/sample-app 1/1 1 1 3m34s
NAME DESIRED CURRENT READY AGE
replicaset.apps/sample-app-66bfb44d9b 1 1 1 3m34s
Create a SecureApp
- Login to the Kubepass dashboard
- Click on the Apps tab and click on Create new dropdown and select SecureApp
- Enter necessary information
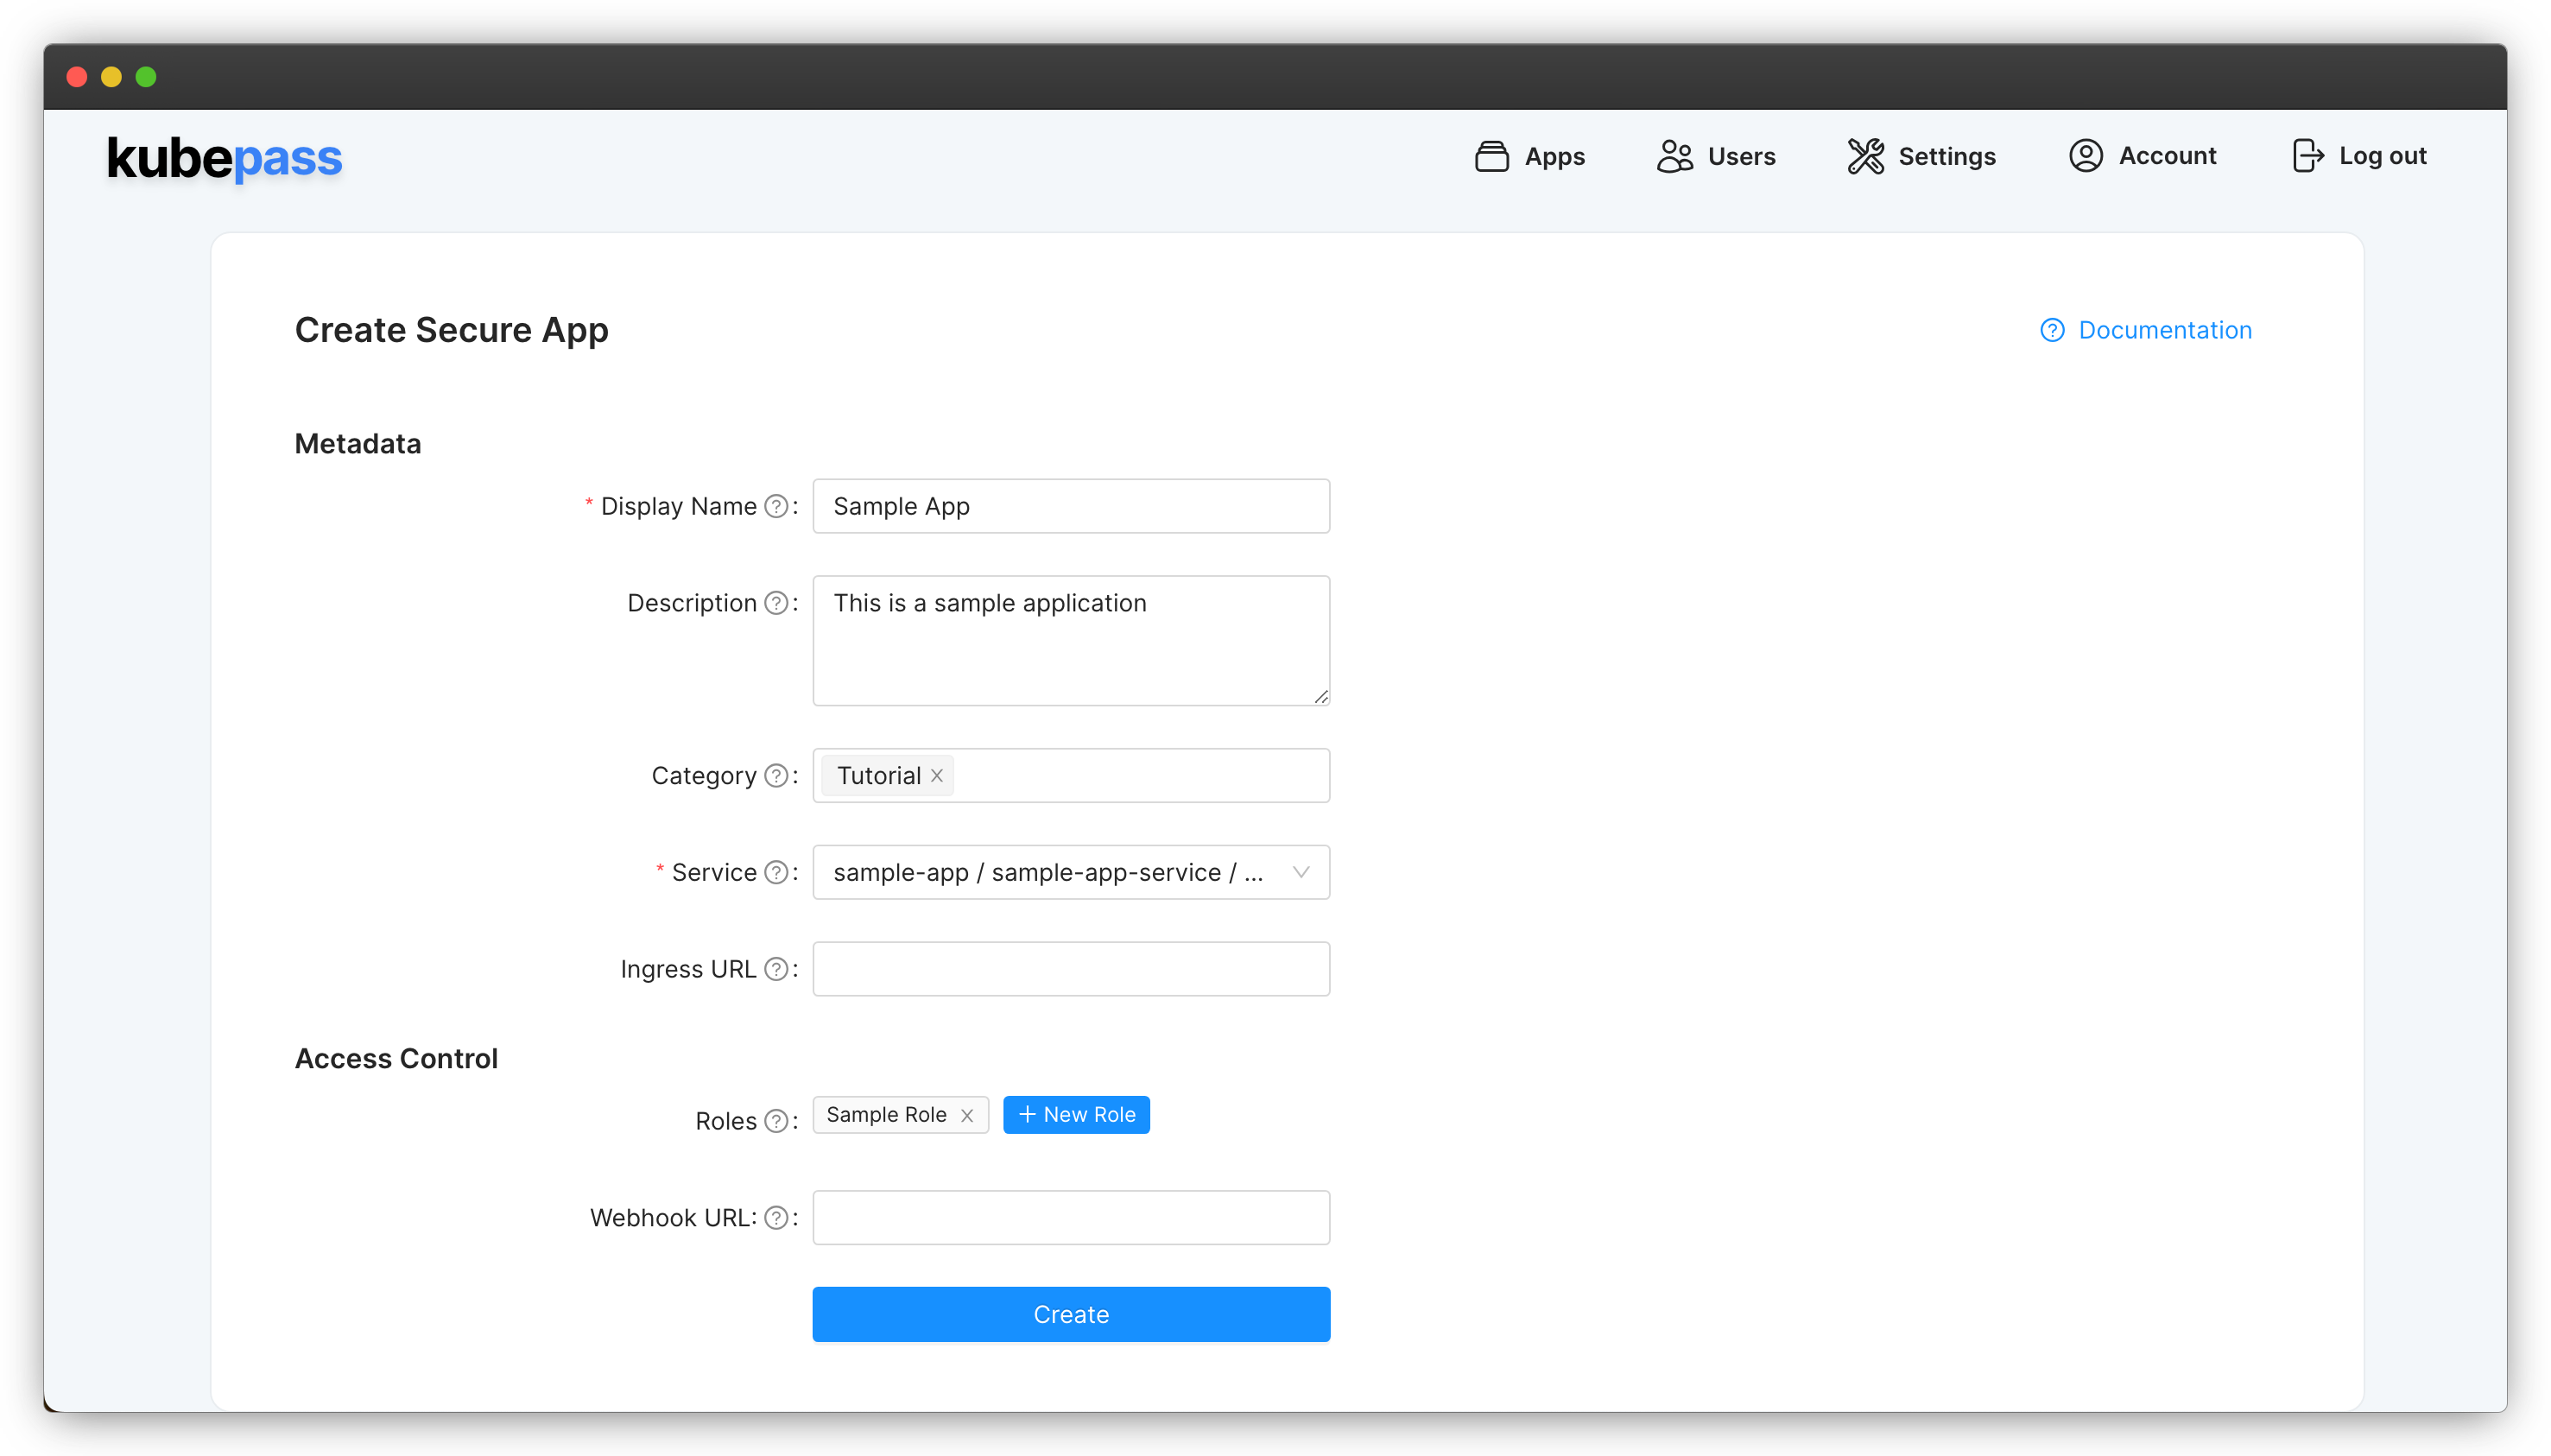
Sample Role and associate it with SecureApp. A SecureApp can have one or more roles. Only users assigned with at least one of these roles will gain access to the application.For more information on the fields, refer to the SecureApp Configuration section.
- Click on Create
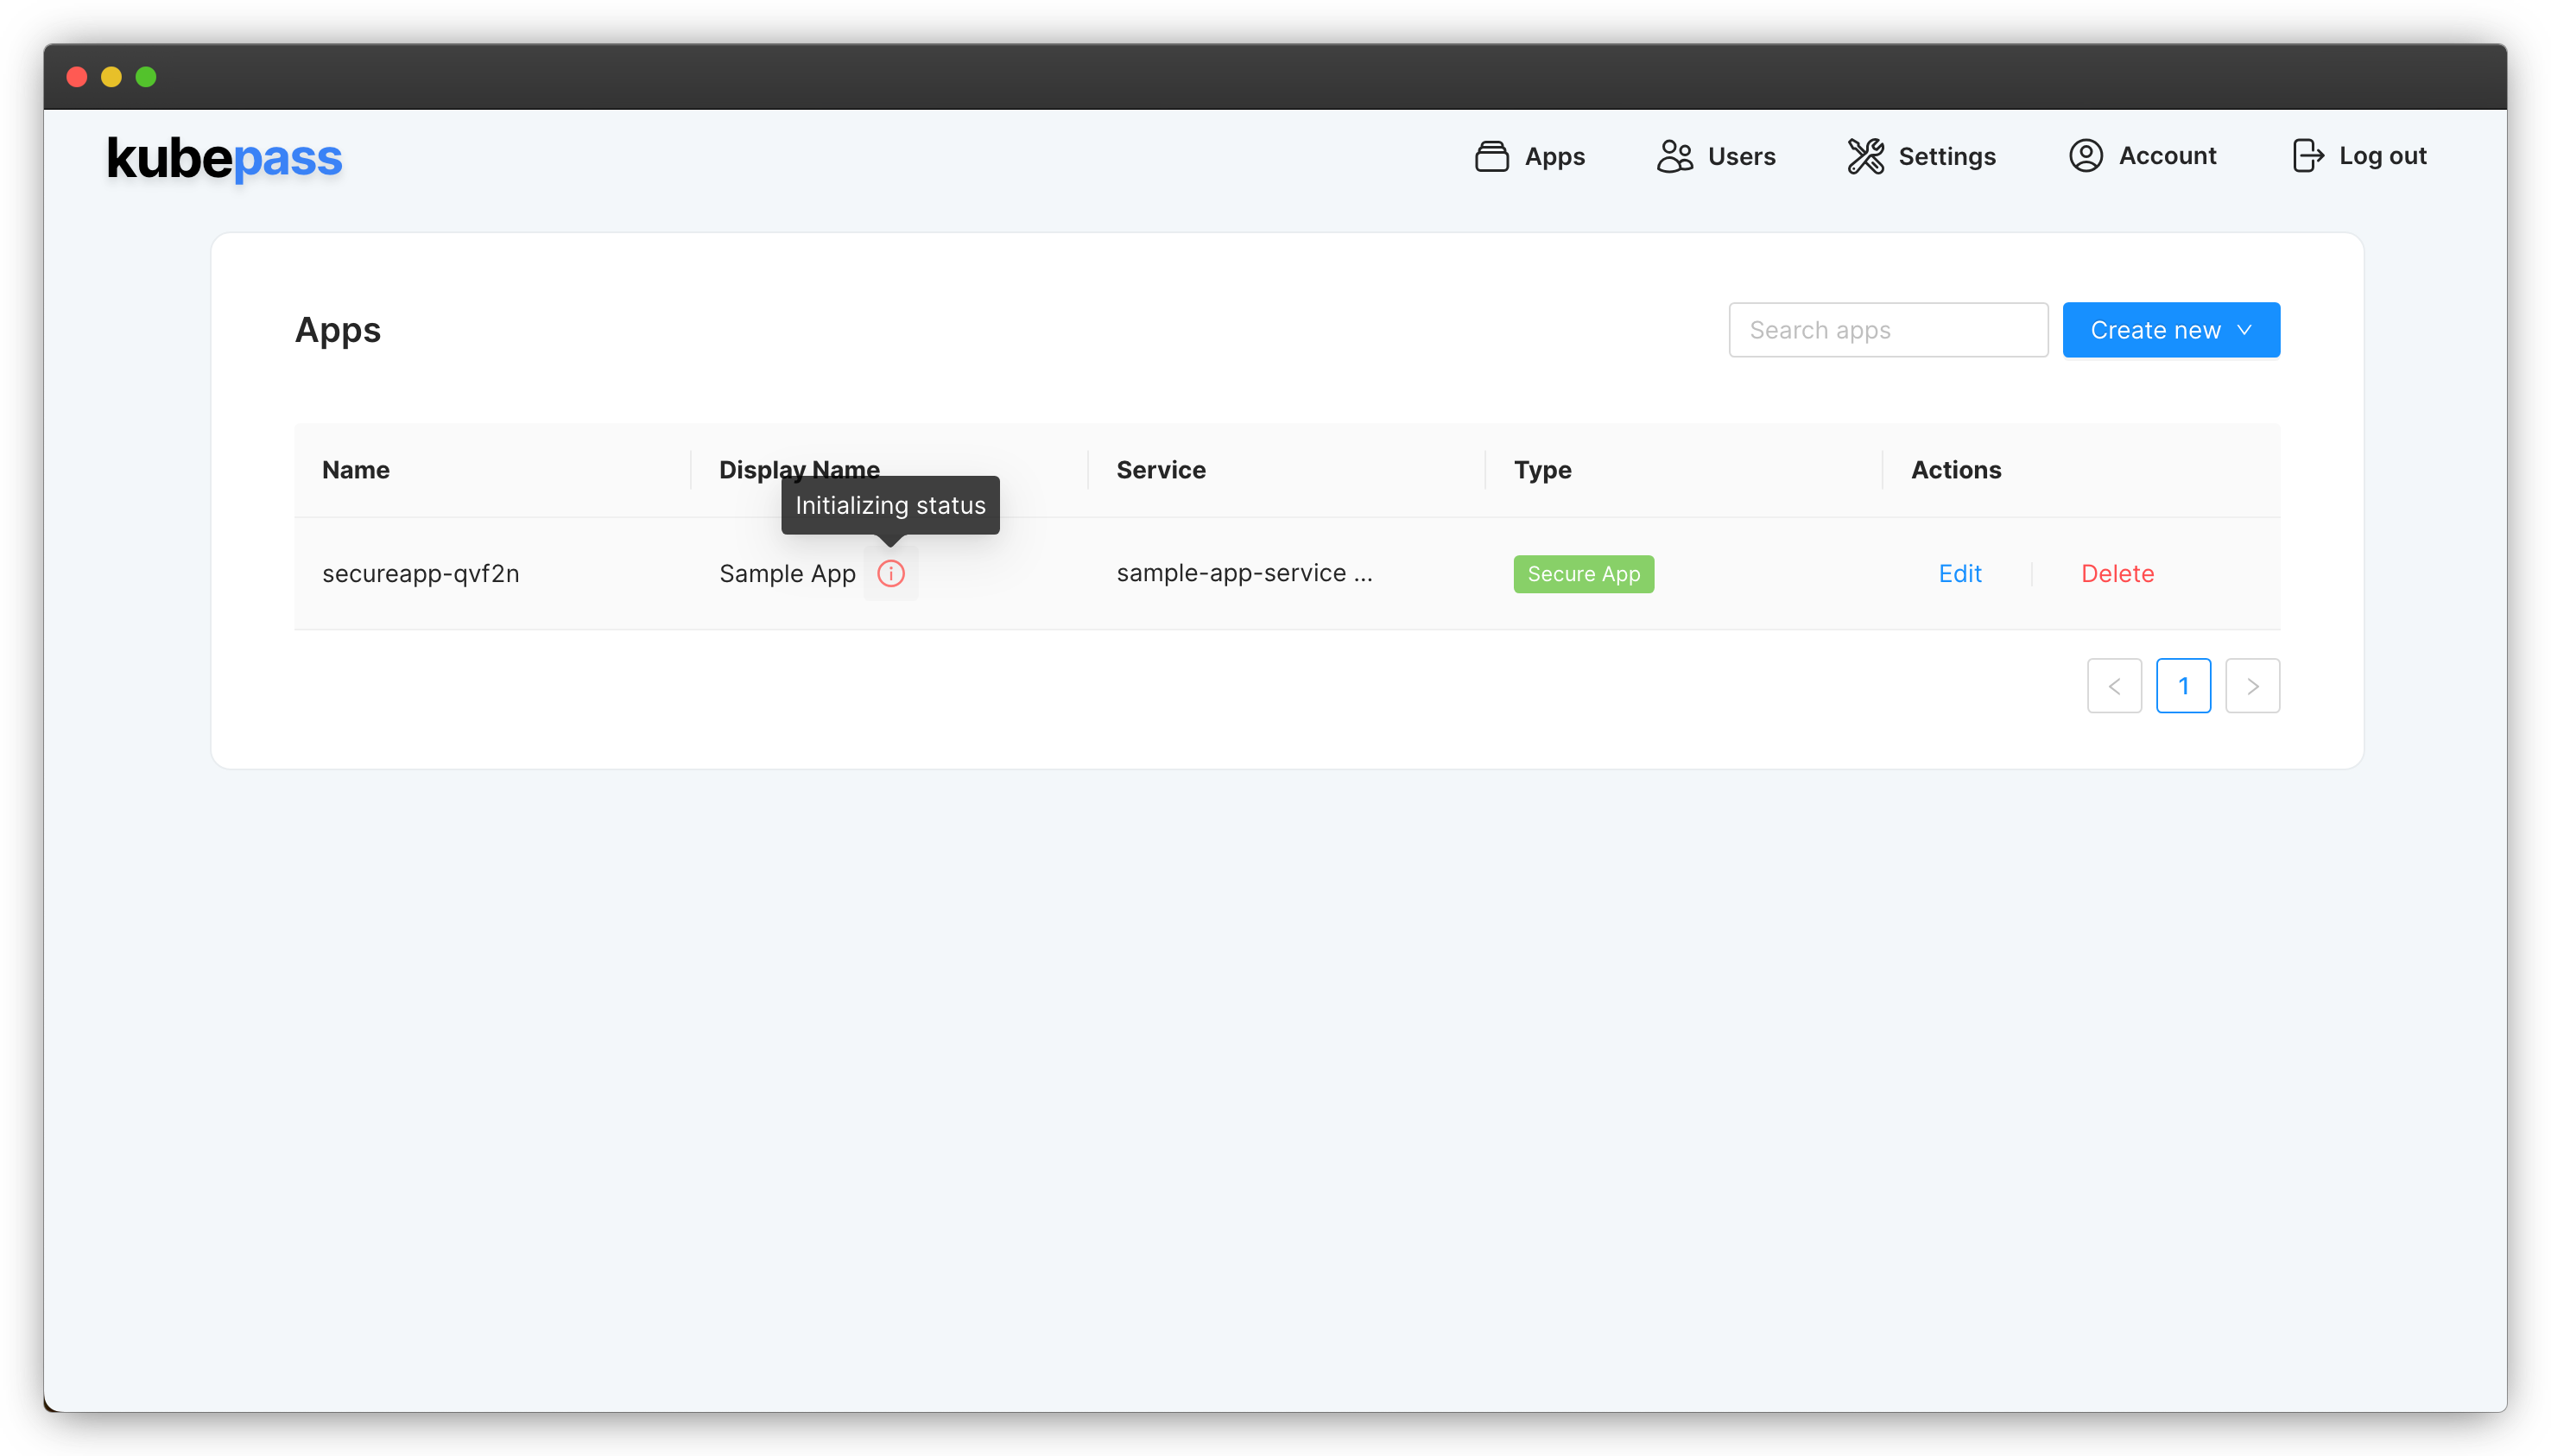
- Wait for a few seconds for the application to be created. You can verify the status in the Apps tab.
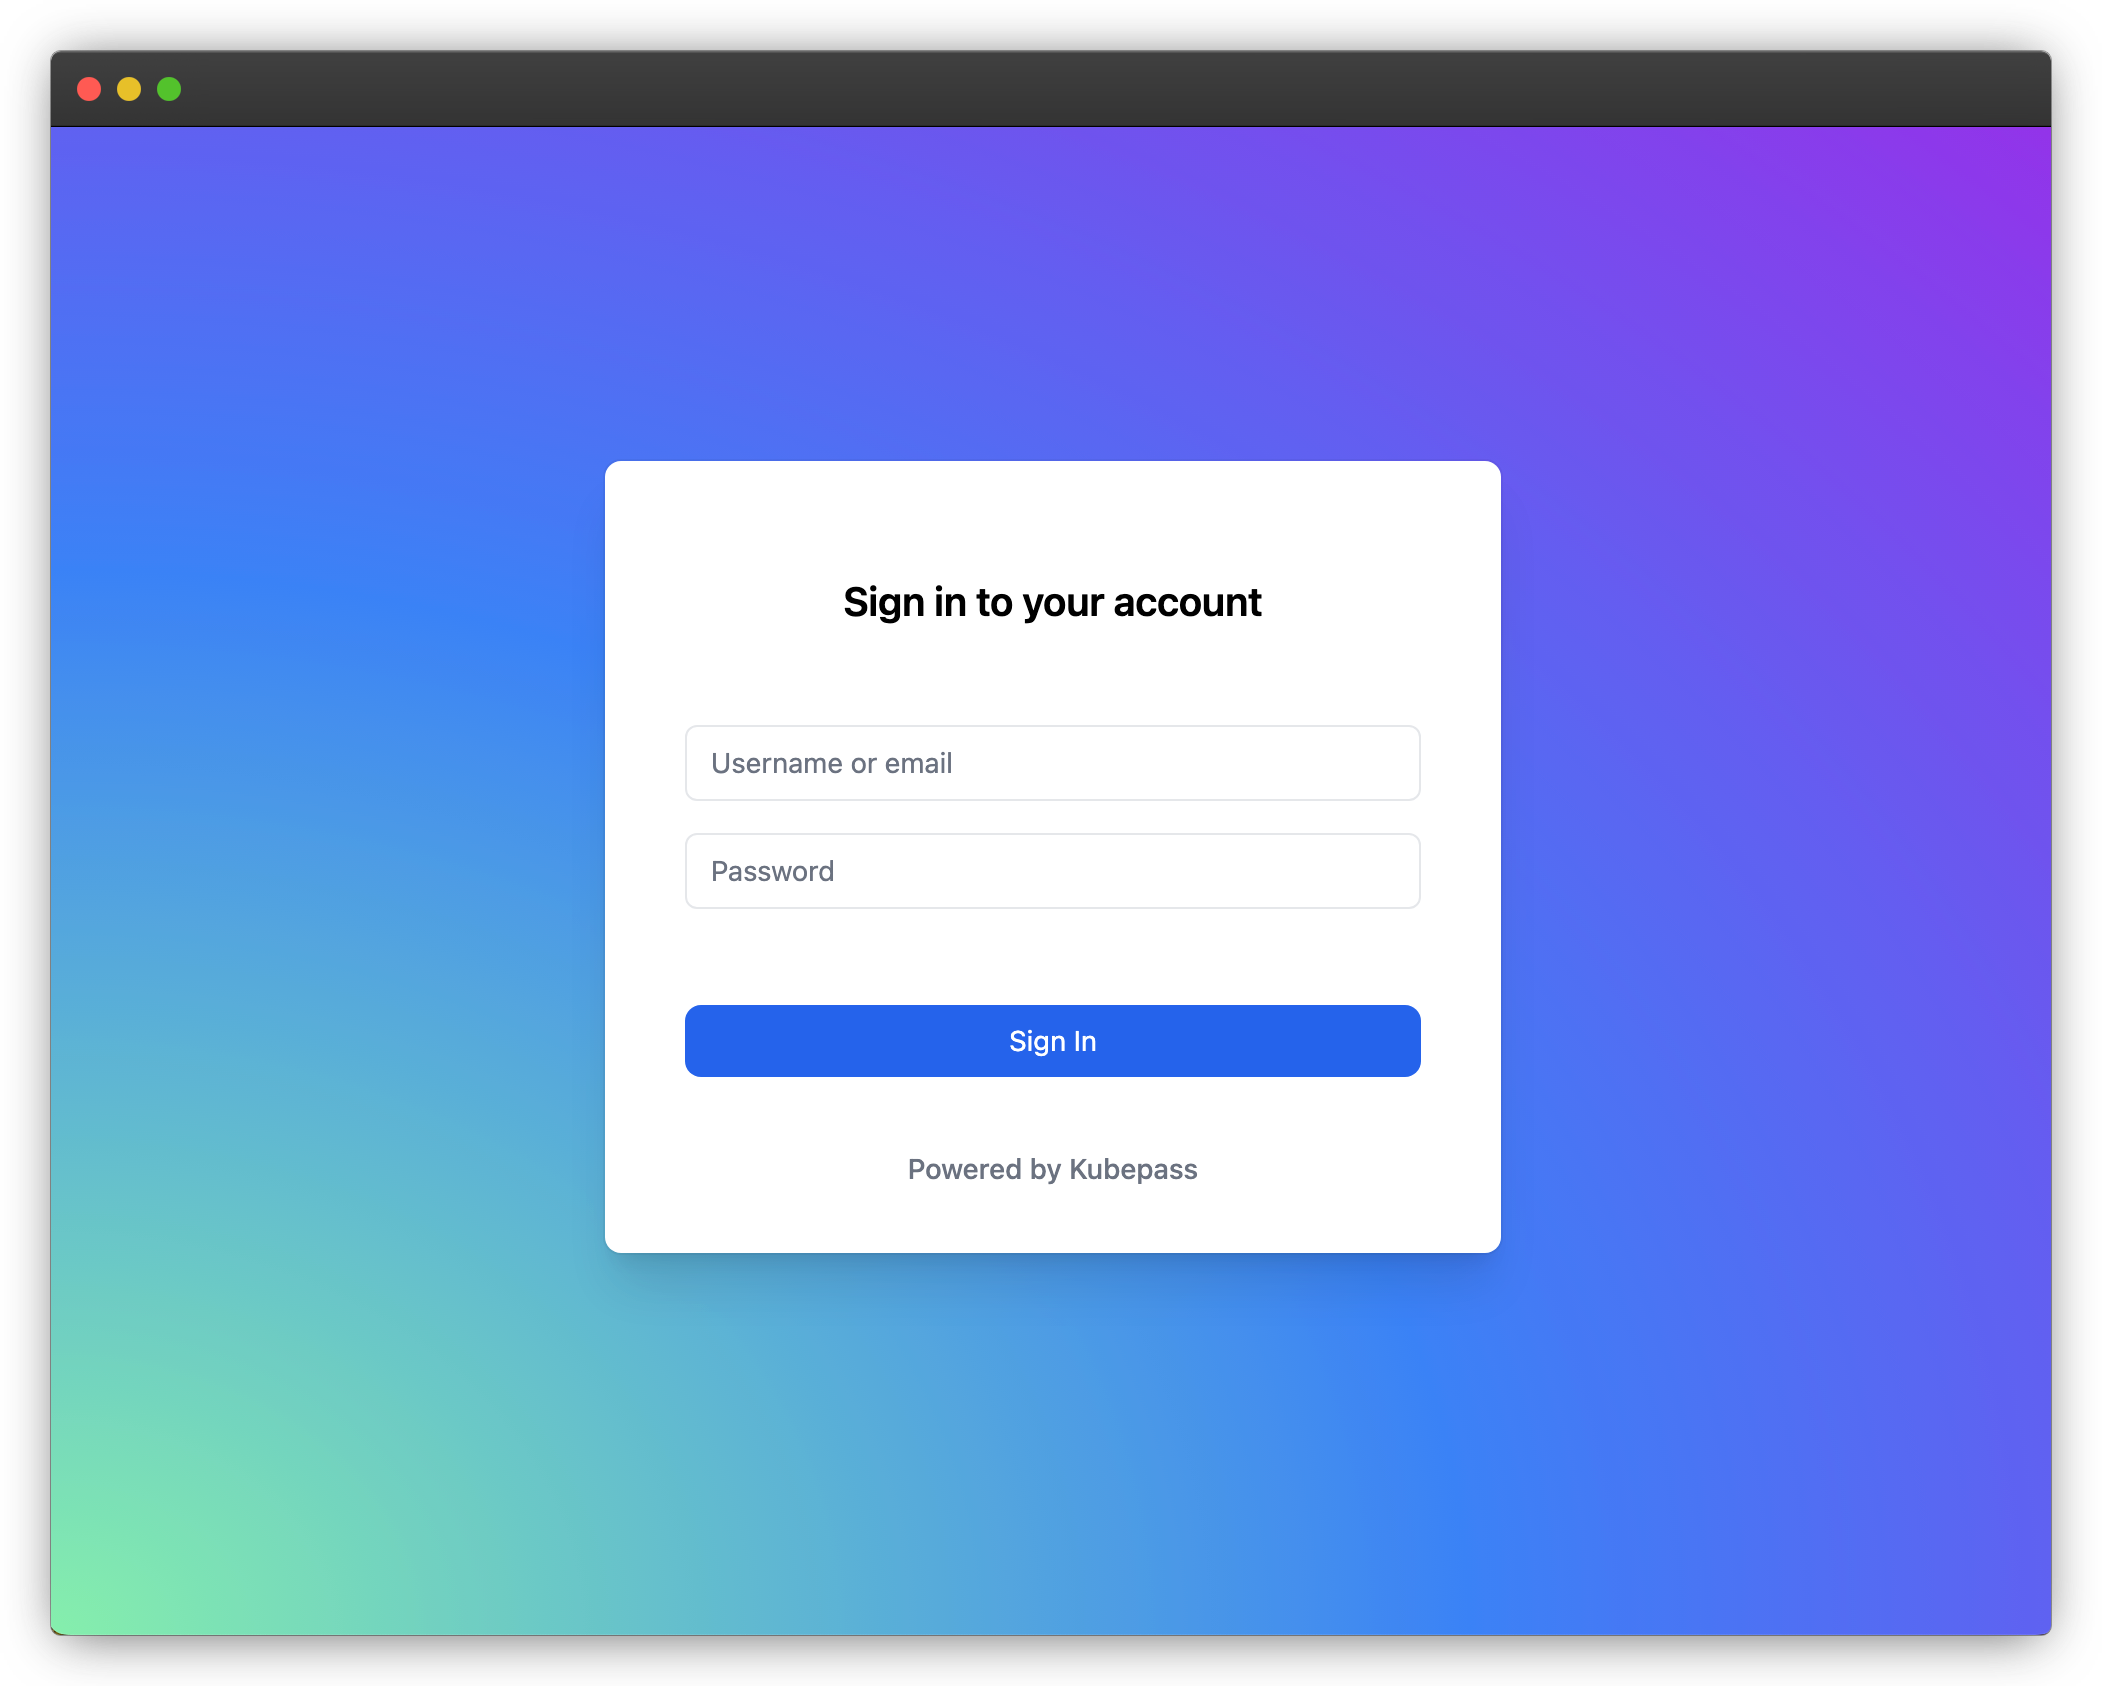
- After a few seconds, visit the EXTERNAL-IP of the application. You will be redirected to the Kubepass login page.
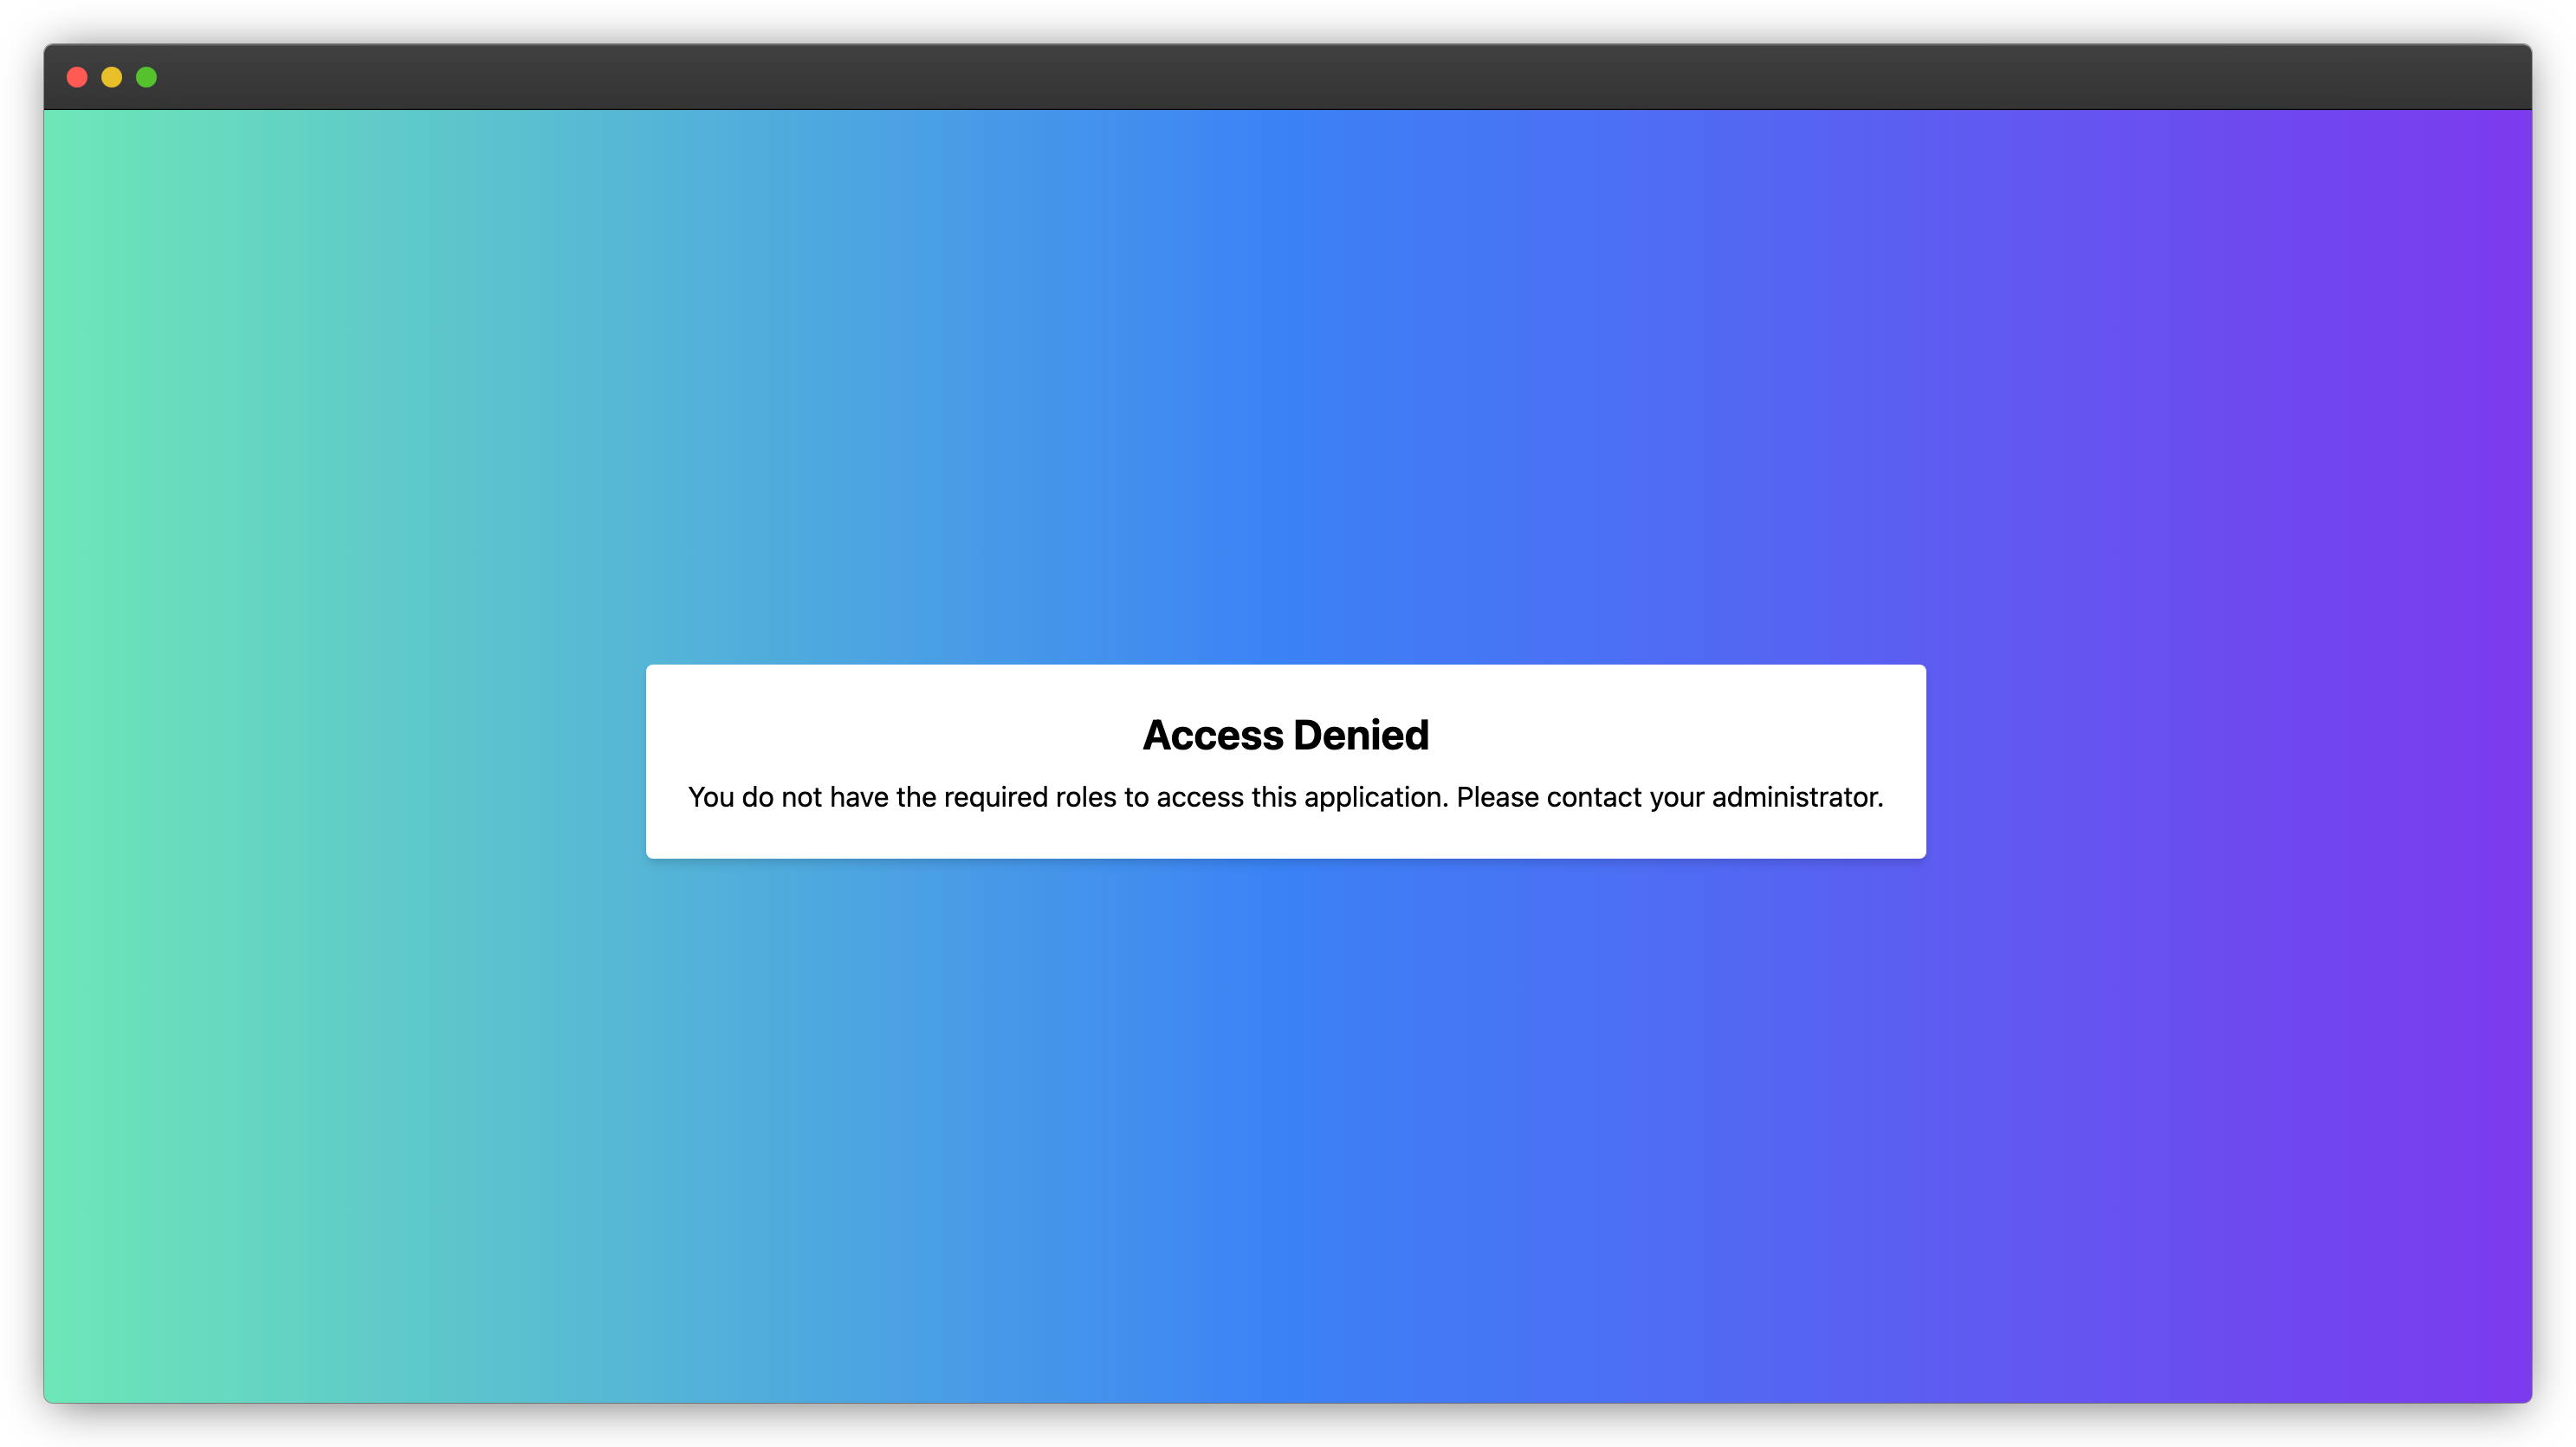
- If you login with the admin credentials, you will see an Access Denied page because the admin user does not have the necessary role (
Sample Role) to access the application.
Congratulations! You have successfully secured an application using Kubepass.
In the next section, you will learn how to manage users and assign roles for application access.
SecureApp Configuration
| Field | Optional | Description |
|---|---|---|
| Display Name | User friendly name displayed on the UI and login screen | |
| Description | Short description of the application, will be displayed on the dashboard | |
| Category | Category of the application, will be displayed on the dashboard. If not provided, the application will be defaulted to Uncategorized | |
| Service | Select the service and port from the dropdown. Services are grouped by namespaces | |
| Ingress URL | If you have configured an ingress URL, please enter it here. Once provided, access to the application will be restricted to this URL only. For instance, if you have an external IP that’s mapped to a URL, and you enter that URL here, users will only be able to log in through the URL, not the external IP. | |
| Roles | All applications must have one or more roles. Access to an application is provided via Roles. Only users with the role will be able to access the application. | |
| Webhook URL | If you have a webhook that you want to call when a user logs in, you can provide the URL here. Refer to the Webhook section for more details. |
Webhook
Kubepass supports calling a webhook when a user logs in. The user will be allowed to login only if the webhook returns a 200 response code.
For example, you can use this to send a notification to Slack when a user logs in or to update a user’s profile in a third-party application or to implement custom authorization logic. You can also manipulate the headers in the request before it is sent to the application.
There is no set max response time limit for the webhook to complete but if the response time is longer, it will affect the user experience.
The Webhook will be called with the following payload:
{
    "action": "login",
    "user": {
        "id": "user-id",
        "username": "user-name",
        "email": "user-email",
        "firstName": "user-first-name",
        "lastName": "user-last-name",
        "roles": ["role-1", "role-2"]
    },
    "application": {
        "id": "application-id",
        "name": "application-name",
        "description": "application-description",
        "category": "application-category",
        "service": "application-service",
        "ingressUrl": "application-ingress-url",
        "port": "application-port",
        "path": "application-path",
        "ingress": "application-ingress"
    }
}